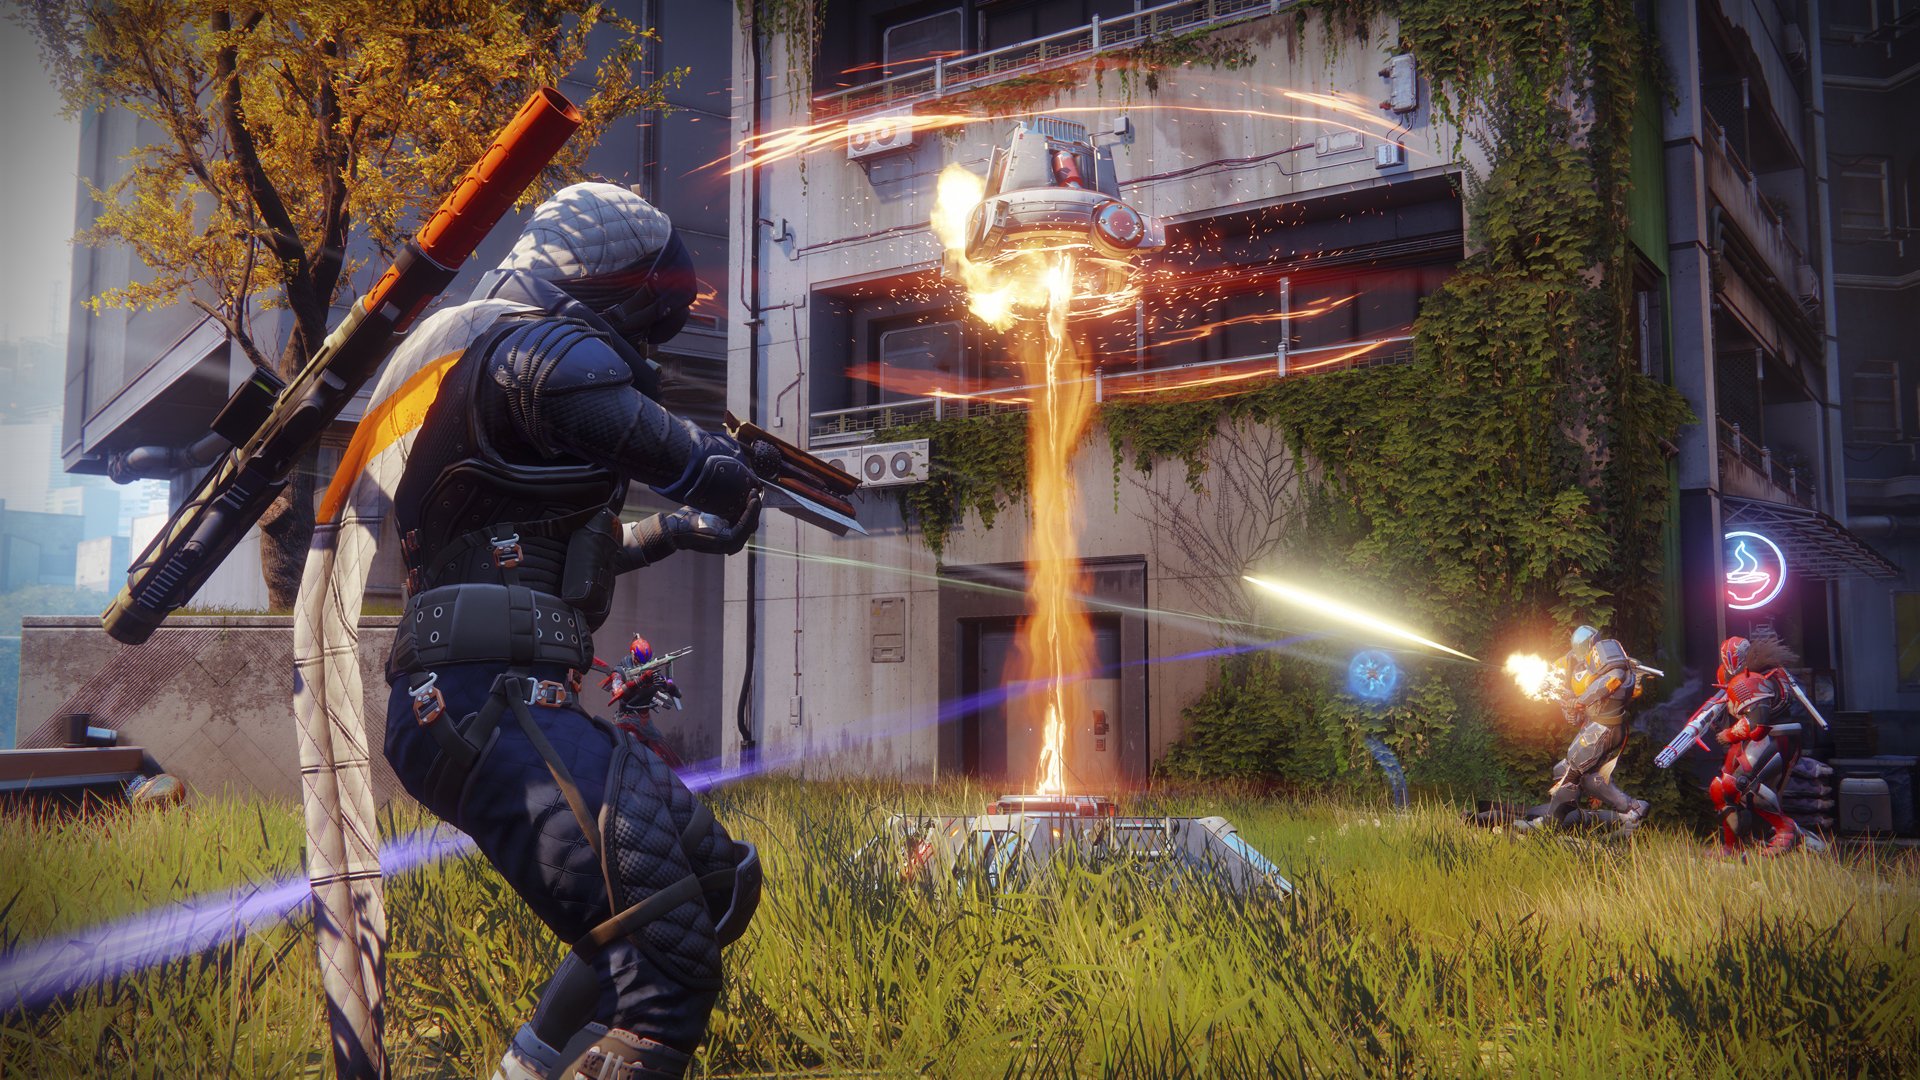
Here this guide helps you to know how you can overcome each encounter in Pit of Heresy in Destiny 2 without having much hassle.
The First Encounter: Necropolis
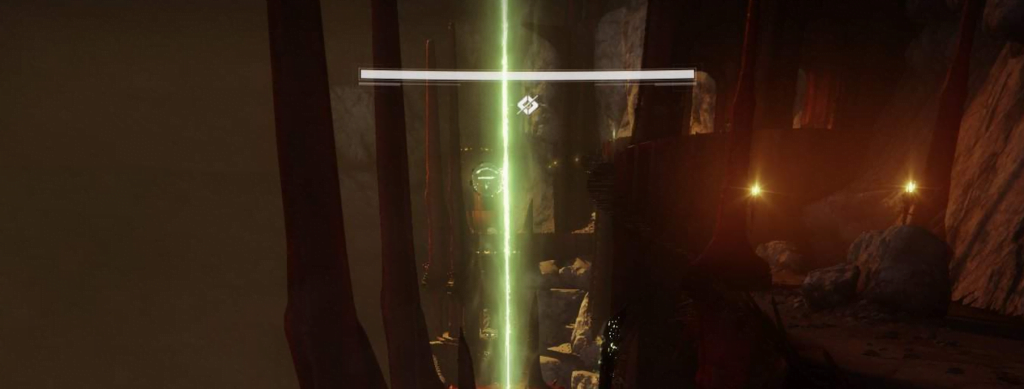
Venture into Necropolis, the first thrilling encounter that sets the tone for your challenging journey. Discover the 3 towers scattered around and face off against the formidable Hive Knight guarding them. Once you’ve gained entry, eliminate the lurking threat within to progress further.
The Second Encounter: Tunnels Of Despair
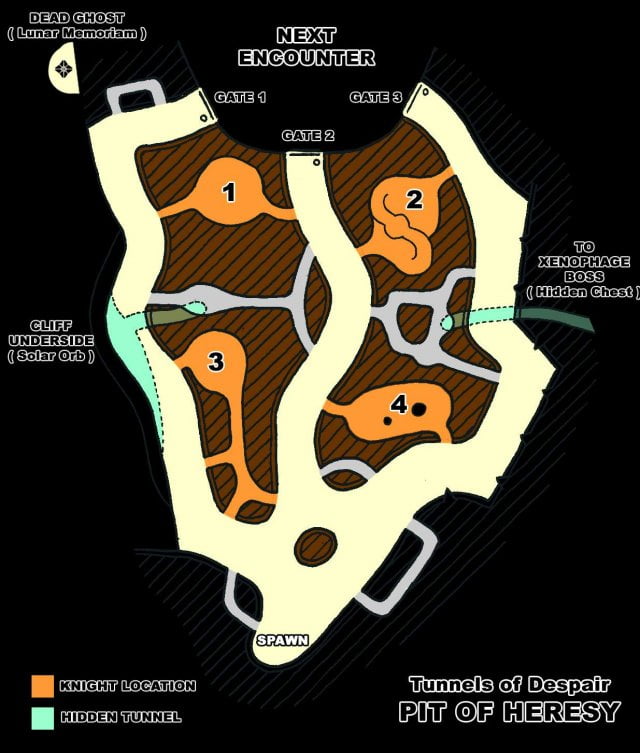
Descend into the Tunnels of Despair, the next phase of your adventure. Take a strategic approach and engage the Knight Tunnels from a distance, as these Knights pack a powerful punch. With the defeat of each Knight, a void ball will spawn, which you must skillfully place in designated containers located near each gate. Master the art of dunking the balls in the containers to move forward smoothly.
The Third Encounter: Chamber Of Suffering
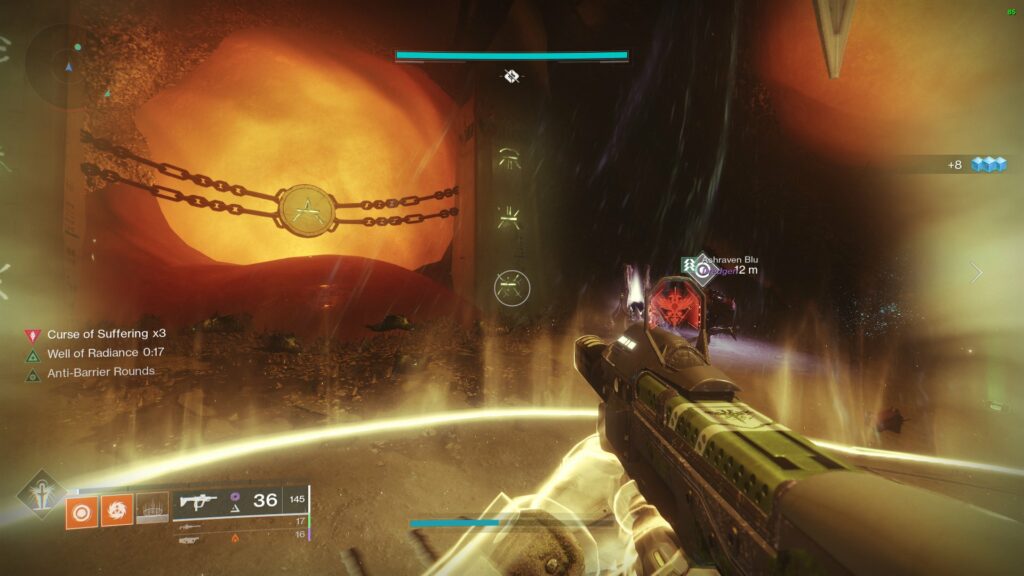
Brace yourself for the most challenging encounter yet – the Chamber of Suffering. Whether you join forces with a team or tackle it solo, survival will require a diverse set of skills and strategies. At the center of the room lies the Annihilator Totem – standing on it is crucial to keep your team safe. Beware of the Curse of Suffering, which hampers your health regeneration. To counter it, make sure to dunk a void ball promptly.
As you defeat Hive Knights, collect the void balls they drop and carefully place them in the designated container. The appearance of Hive Boomer Knights on two platforms above you will demand swift action to eliminate them. Coordinate effectively with your team to overcome this formidable challenge.
The Fourth Encounter: The Harrow
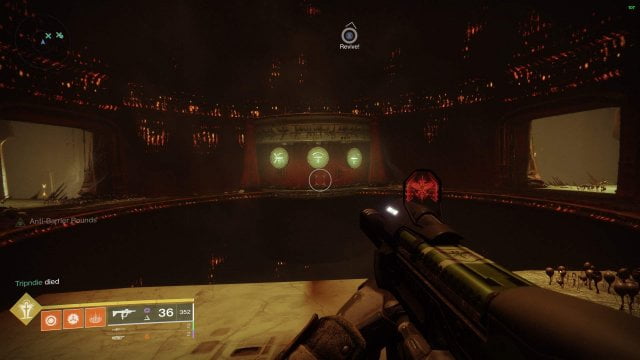
You’re almost there! Prepare yourself for the Harrow, a meticulous jumping puzzle that will put your skills to the test. Stay patient and navigate your way through the Hive Symbols at the start of the encounter. Hunt down and defeat the Hive Wizards at each spot, all the while avoiding deadly obstacles like swinging death lanterns and spinning death logs. Be cautious as not all Hive Wizards are defeated with the Hive Sword Relic.
The Fifth Encounter: Cradle of Damnation
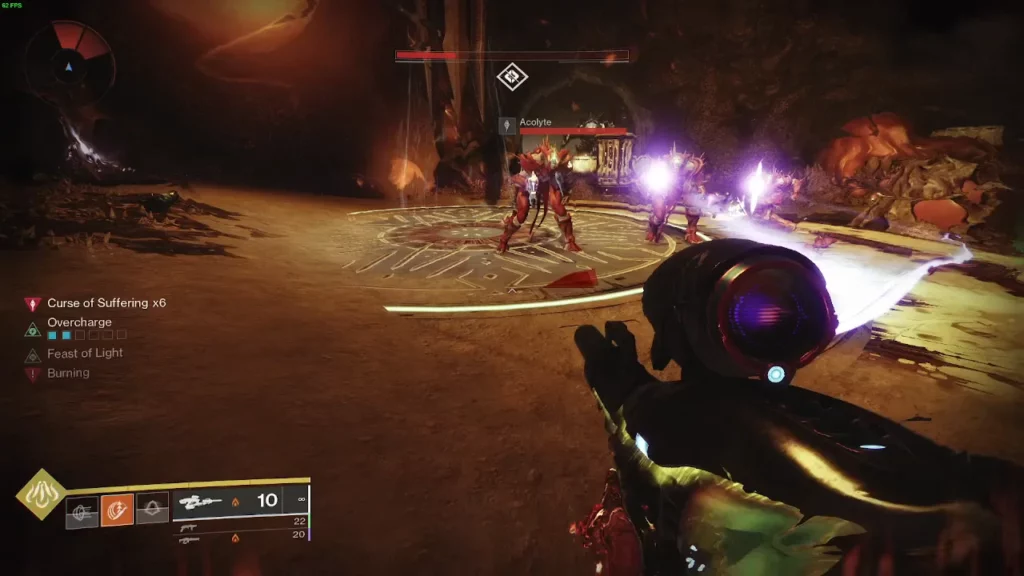
The final boss fight awaits you at the Cradle of Damnation, where all your acquired skills will be put to the ultimate test. The boss stands at the main tower, guarded by three sub-towers. Each sub-tower houses a formidable mini-boss – a Hive Shrieker, Hive Knight, and Hive Wizard.
Secure the Hive Sword Relic by defeating three initial Hive Knights and use it to eliminate the mini-bosses. Dunk the void balls they drop into containers surrounding the boss to unleash its true power. If you manage to one-phase the boss, stay close and deal damage, but beware of the explosive thrall that spawn in.
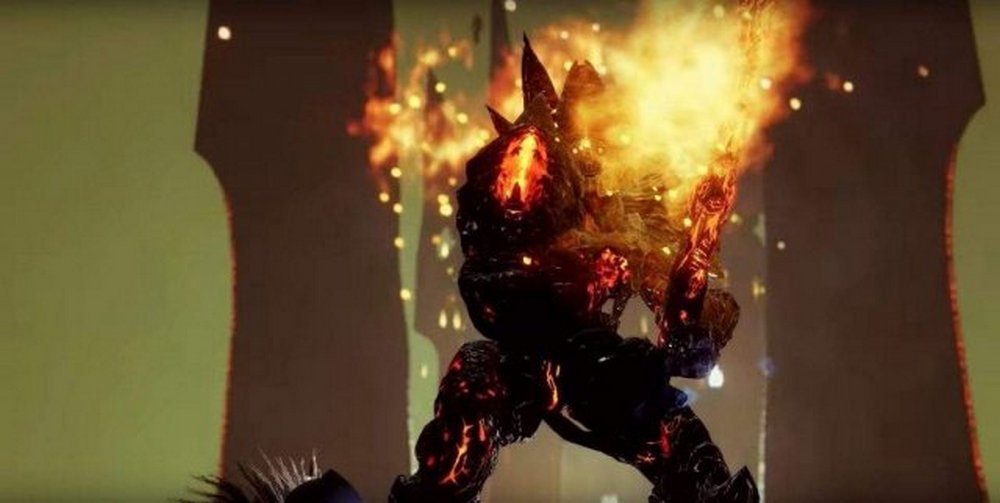
Should the boss survive your first damage phase, retreat from the circle of green soulfire to avoid being taken down. Take note of his sword slam to know when the boss becomes invulnerable. Regroup and repeat the process to achieve victory.
Congratulations on embarking on the journey through Noobs Want to Live! With your newly acquired knowledge and skills, conquer future adventures with confidence. Best of luck, and may your gaming journey continue to be filled with triumph and excitement!
This is all for this guide for more similar guides do check our Destiny 2 guides section.

