This article covers all the information related to The Mirror Destiny 2 Mission with a detailed guide. Some missions will take much more time, but there are a few missions players can do beforehand, and a daily quest will give them a fair amount of crystals for short periods.
The Mirror is one of the easier missions to complete in the Destiny 2 campaign, Queen of Witches, however, for your first time, it may feel a bit disorienting.
This Destiny 2 guide will also go over the optimal details of Mirror Mission, as well as use the Deepsight mechanics to solve every puzzle. Also, in this article, you will find requirements for getting started, along with the complete walkthrough for the mission.
How to Get the Mirror Quest?
The Mirror mission is very much about using the Deepsight mechanic to take down hidden objects. Speaking with Ikora Rey enables you to access The Mirror after completing the prior objective, The Communion.
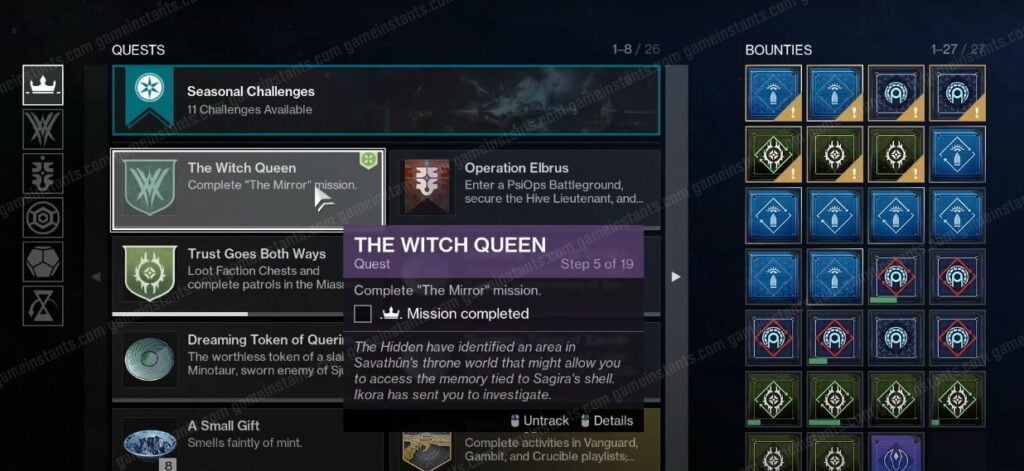
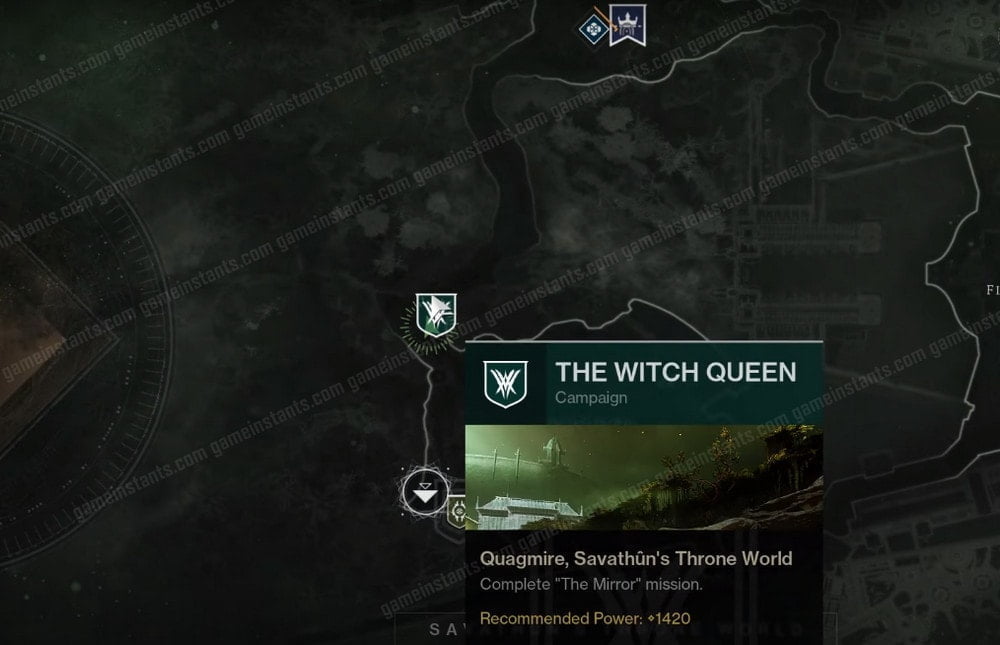
The Quagmire region of the Throne World destination is where you can find this task. Simply visit the location marked on your map and interact with the banner to begin.
The optimum Power level for both Standard and Legendary difficulties is 1420, while Legendary delivers better rewards. Focusing on missions that earn Crystals early will help players fill out their Roster, as well as boost star ratings for already unlocked Sentinels.
How You Can Complete the Mirror Quest?
In order to complete the Mirror challenge in Destiny 2 you need to, follow below given guide.
Find the Psychic Concentration
Finding Psychic Concentration is the first thing to do when you start. Jump on your sparrow and travel the route to the designated spot. A gathering of adversaries and an orange-lit shielded item in the air will be in your path.
Kill the nearby adversaries, then after the shield drops, blast the spike to take it out. Return outdoors, cross the swamp, and enter the dilapidated circular structure. To drop the orange barrier on the left, shoot the spike inside.
Expose the way
Take the path to the quest sign after entering the tunnels. A group of Scorn adversaries is waiting for you just in front of you. You can find the way forward by eliminating them all and interacting with the nearby Deepsight orb.
Continue through the caves to reach the elongated space with a Deepsight orb in the middle. There will be a bunch of adversaries waiting for you when you descend into the arena. You must overcome them.
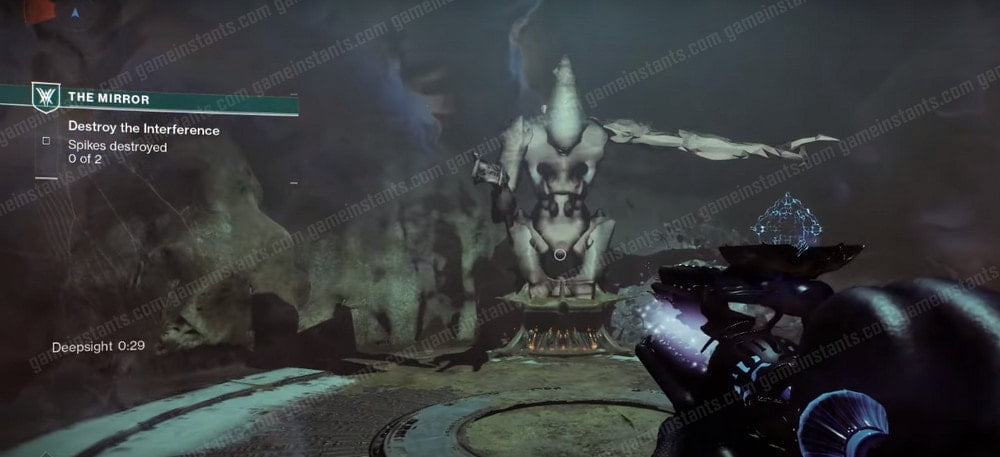
Terminate the Interference (2 Spikes)
After the battle, you’ll see that the door is barred and that spikes are hidden below the ground. To expose a secret cave entrance on the left side of the room, interact with the Deepsight orb in the room’s center. Enter the caves and traverse the cavern on platforms that you may disclose with Deepsight orbs.
You’ll enter a room at the top of the tunnel where there are some monsters and a spike you need to take out. It will eventually be broken, revealing a neighboring obstacle.
You will find another circular area with a Deepsight orb in the center after entering the cave. You can interact with it to reveal three more cave entrances: one on the left, one in the middle, and one on the right.
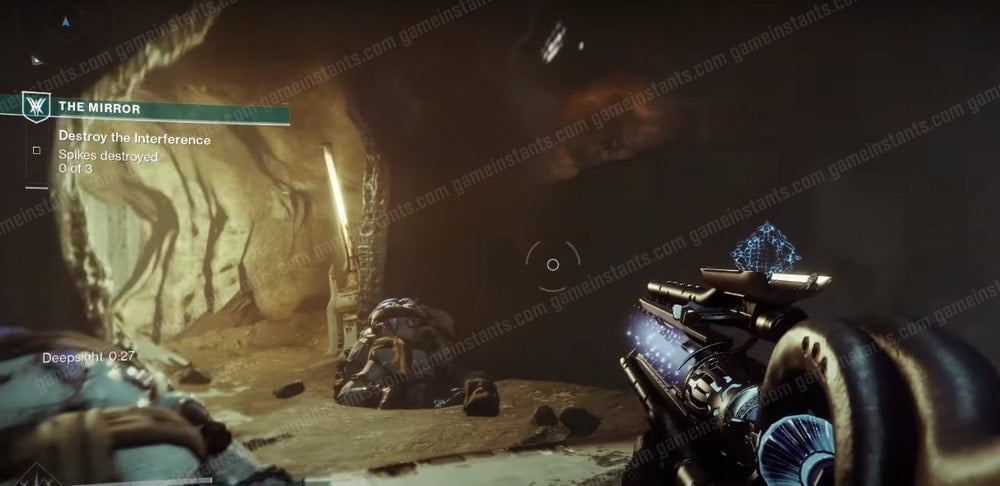
Again, Terminate the Interference (3 Spikes)
Kill the adversaries there and remove both spikes by entering the left and middle caverns. Use the nearest Deepsight orb to illuminate the way ahead.
You will emerge from the tunnel straight ahead into a big room with two statues in the front. Use the Deepsight orb in the center, between the two statues, to defeat all the foes at the room’s back. To lower the barrier on the right side, look for three spikes in this room.
The first spike is on a platform just above the Deepsight orb, the second is nestled into the wall on the room’s left side, and the third is hidden beneath the surface on the orange barrier’s left.
The path ahead will become accessible from behind the barrier once all three have been demolished. You’ll return to the main room if you proceed via the tunnel. Remove the barrier in front of the big door by destroying the spike in the center of the floor. Go through the entrance and descend to another big arena room via the tunnels.
Destroy the Interference (1 Spike)
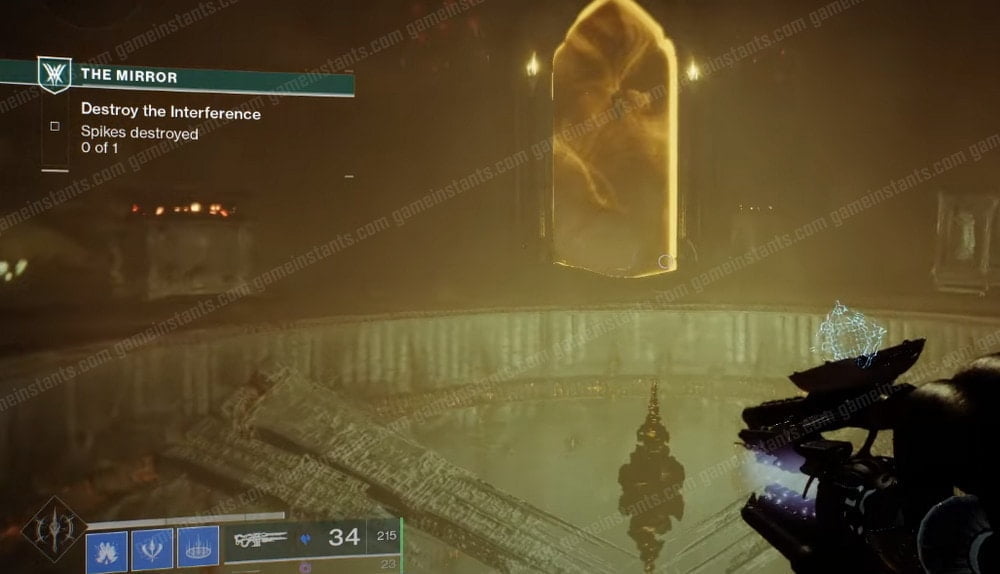
Now you need to move towards the same pathway which leads you to the Circular room and simply you need to terminate the Spike. Once you terminate the Spike the barrier front of you will be gone and you can easily able to pass through the next room.
Again, Destroy the Interference (1 Spike)
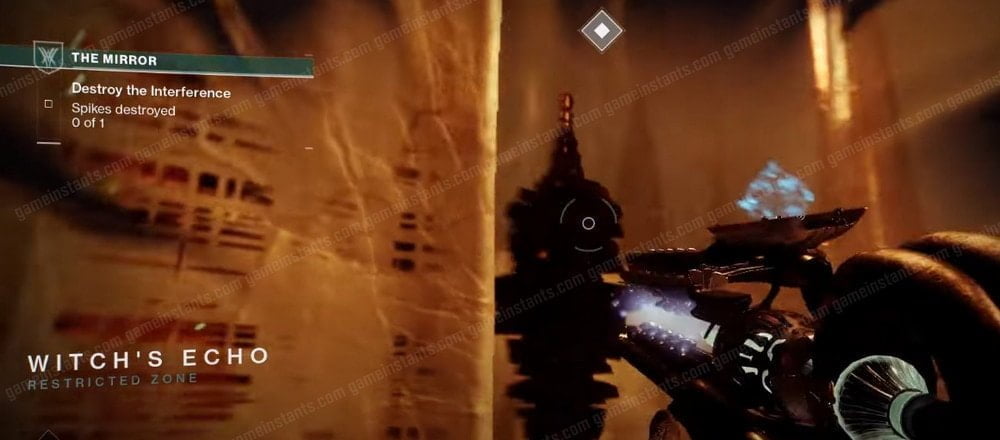
Once more, you must destroy the Spike in the bigger room. Where your interact with the Bosses called Skirvaa, Abhorred Chieftain.
Find the Psychic Concentration again
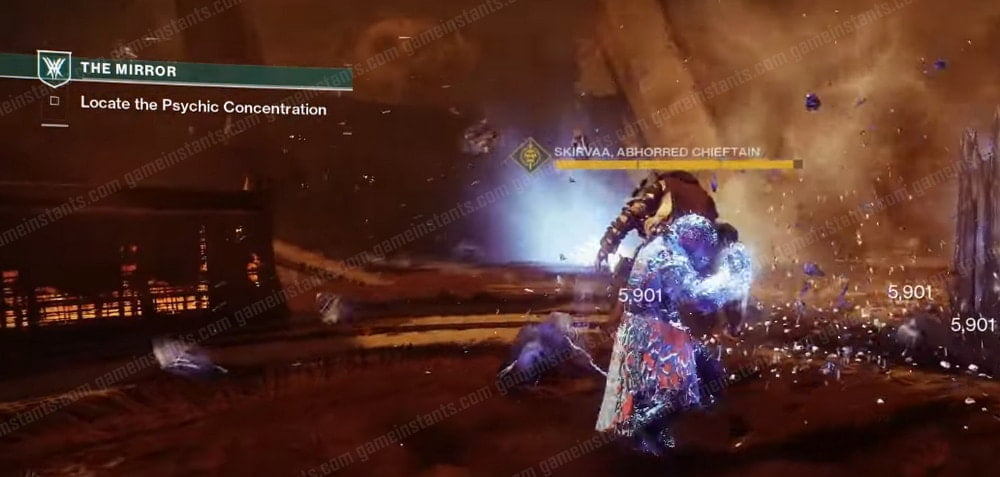
When you first arrive, go to the back platform where you’ll discover a Rally Banner point where you can restock on ammo and abilities before engaging in combat. When you’re ready to begin, shoot the spike behind the wall to bring in a bunch of Scorn enemies.
Skirvaa, the Abhorred Chieftain, and the other Scorn enemies are the major opponents you need to eliminate. You should be able to stay on the back platform and take protection behind the barricades.
Just be aware of the Raiders across the room; if you’re unprepared, their long-range sniper shots could take your life. After defeating Skirvaa, you must move on to the psychic focus, which will then appear.
With so much room and cover around you, as well as the ability to consistently inflict health damage without the need for any special manoeuvres, Skirvaa will be simple to kill.
Align the Rune
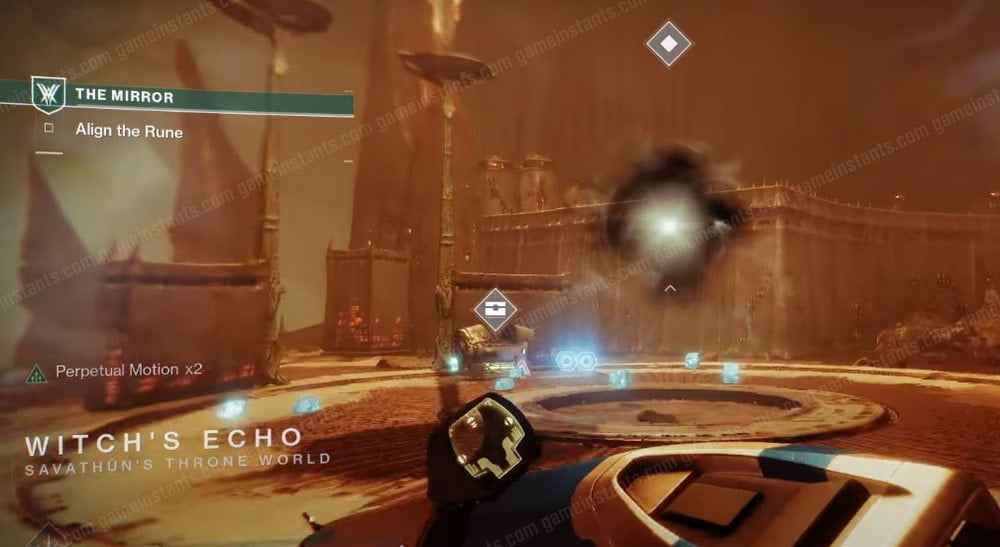
Sometimes, wells of light would appear on the surface. You can stroll through them to instantly recover some ability energy if you find yourself in a tight spot. Once the adversaries have been vanquished, take the loot and utilize the Deepsight orb to discover a bright green symbol that has been hidden on the ground.
The image, which is the Witch Queen logo, needs to be aligned, therefore you’ll need to jump up onto the platform behind you and climb up to the framework of the hanging light. After scanning it, proceed to the door at the edge of the bridge to enter the Altar of Reflection.
The next significant section is reached by passing through the glowing portal in the center of the corridors. You will immediately be led to a location with a circular building in the center.
Unveil The Memory
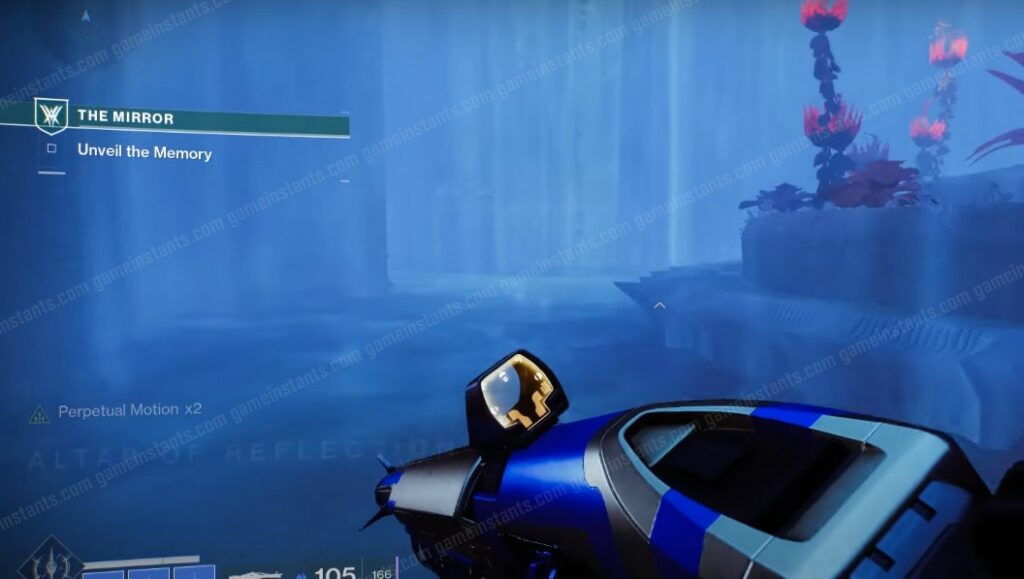
To access Sagira’s recollection and finish this task, approach and engage with it. You’ll be taken back to the Throne World after the countdown is over. Return to Fynch and speak with him to start the campaign’s next quest, The Lightblade Strike.
Video Guide:
How To Get Divinity Destiny 2: Ultimate Guide
Is Destiny 2 Crossplay Between PS4 and Xbox
Destiny 2: How You Can Get Stasis Melee Final Blows
How to fix Destiny 2 a Cold Boot Error
DESTINY 2: All K1 Logistics Lost Sector Locations

